
Today’s project is a spring nail set, created with a specific inspiration picture in mind. Here is a complete breakdown of the process, from prepping the natural nail to the final finishing touches.
Nail Preparation
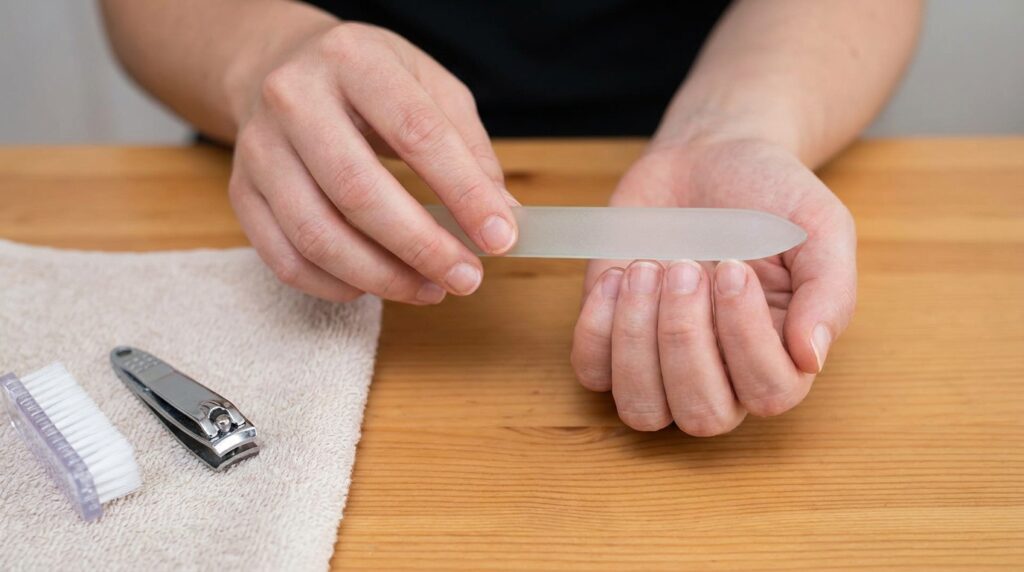
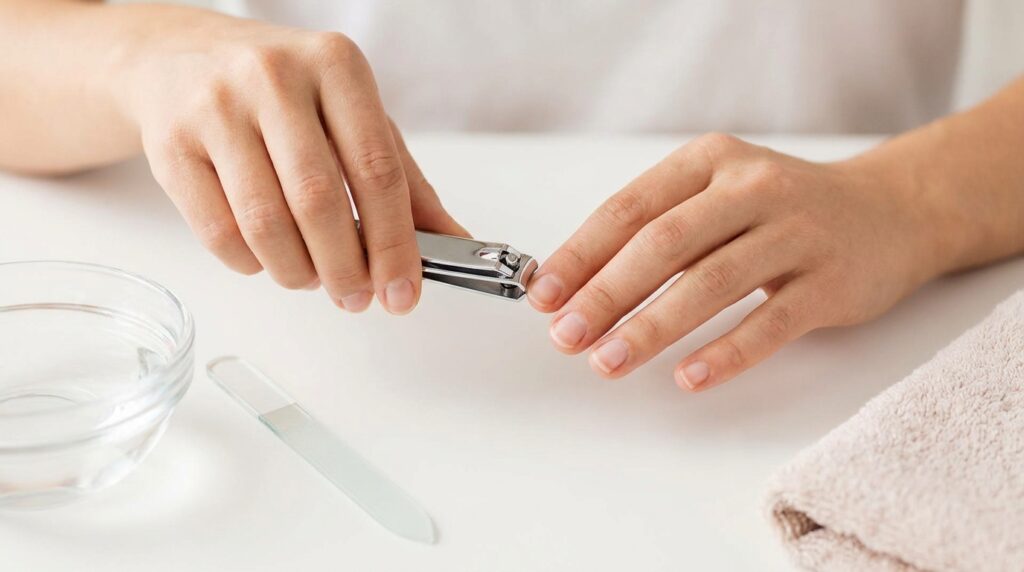
As always, the process begins by trimming the nails down so that none of the natural nail peeks out from underneath the extensions. Next, the nails are filed to smooth out any jagged edges left over from clipping. A glass hand file works well for this step, though any hand file will do.
Cuticle remover is then applied to the cuticle area and left to sit for about 10 seconds before being pushed back with a metal cuticle pusher. This lifts all the dead cuticle off the nail plate, which is essential for good retention and preventing lifting later on.
Trimming the excess cuticle is optional, but a small amount is nipped off here for a cleaner finish. Skipping this step is completely fine and won’t affect retention at all.
The nails are then buffed using a small buffing block to remove the shine. A fine-grit sanding band with an e-file at a low RPM can also speed this process up, but a gentler, manual approach with a buffing block is preferred for natural nails that are worked on frequently, since it gets the job done without over-filing.
After buffing, a protein prep vitamin is applied to dehydrate the nails. This step removes any oils and debris from the nail plate and evaporates quickly.
Applying the Base Coat
Next comes the Jello peel-off base coat, which allows the set to be popped off whenever needed. Sets applied with this base coat have lasted up to three weeks, and removal is as simple as using the accompanying serum. For those seeking longer wear, a regular base coat and primer can be used instead of the peel-off base — though this requires a soak-off for removal and won’t be poppable.
Sizing and Applying the Extensions
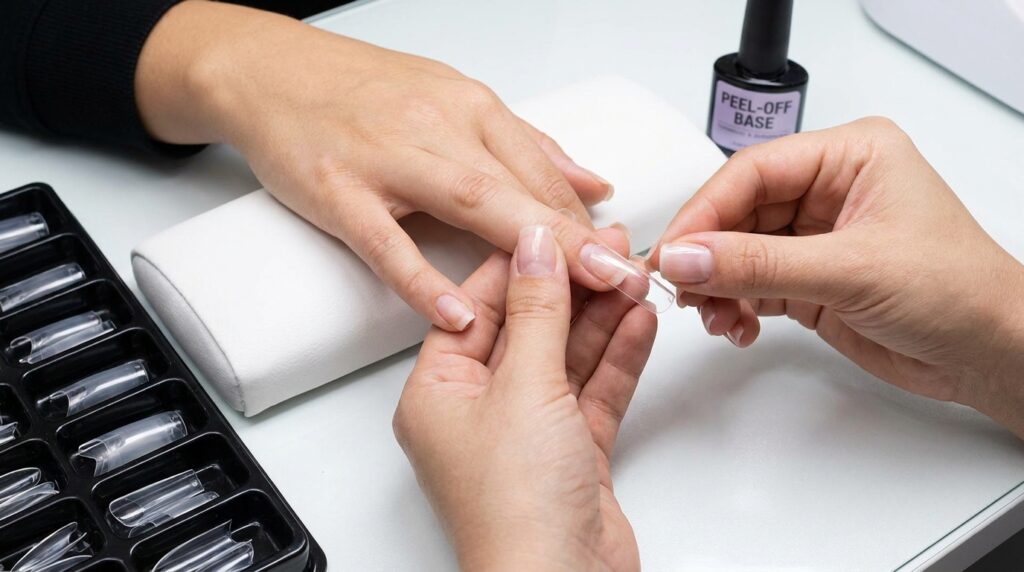
The extension tips are sized next, finding the ones that fit from sidewall to sidewall on each nail. This step can technically be done before or after the peel-off base — the order doesn’t matter much. The tips should sit snug and be brought all the way up to the cuticle, since no overlay is being used in this application; this is a standard tip application.
These particular tips are sculpted. Natural nails with more of a C-curve and less flatness benefit especially from sculpted tips, though they also work well on flatter nail beds and are fairly universal. Sculpted tips are useful because they already provide a built-in apex look, eliminating the need for a rubber base or builder gel on top — particularly helpful here, since the design goes on directly without any builder gel. For this length, sculpted tips are the way to go.
Once all the tips are sized, an e-file set to around 5,000 RPM with a fine-grit sanding band is used to lightly etch the inside of each tip. This adds texture so the tips adhere better to the natural nail, and taking time with this step makes a noticeable difference in retention.
Gel is then used to adhere the extensions — specifically, the Diami Feelgood Strong Nail Base and Balancing Clear Gel, which works as both an adhesive and a builder gel. The gel is applied to the inside of each tip where it was etched, with a small additional dollop closer to the cuticle to help fill in the gap. Each tip is placed onto the nail at about a 45-degree angle and slowly pressed down until the gel spreads to the free edge, then flash-cured under a gooseneck lamp for about 15 seconds to hold it in place. This process — apply, place at 45 degrees, press down, and flash cure — is repeated for each nail.
Once all nails are applied, a full cure under a proper lamp is essential; a gooseneck lamp alone isn’t strong enough. Curing in a larger lamp for 90 seconds ensures everything is fully set.
Shaping and Sealing the Extensions
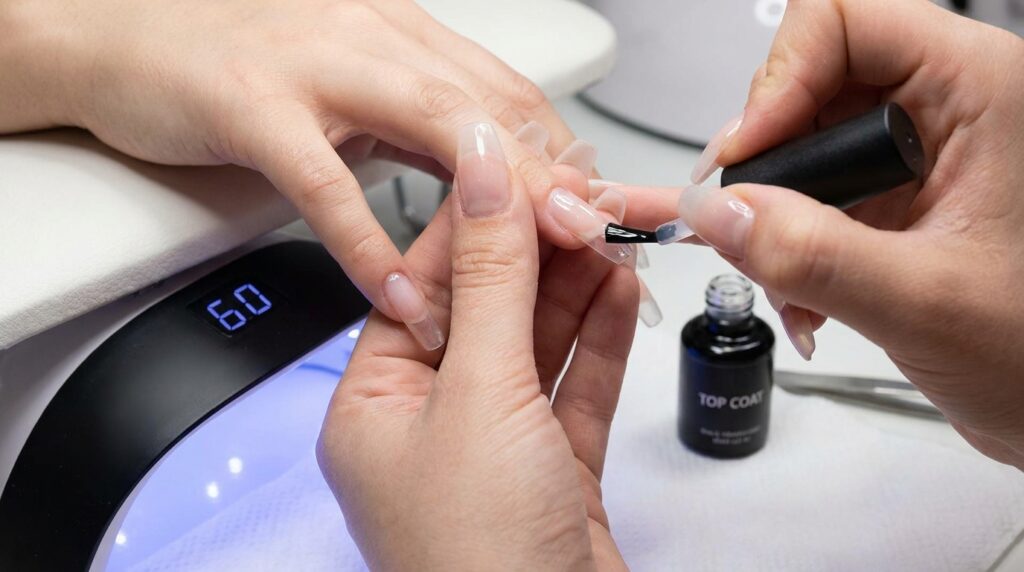
A top coat is applied to the underside of the extensions to keep them clear — an optional step, but one that gives a cleaner look — and cured for 60 seconds.
A hand file is then used to shape the tips, smoothing out uneven or jagged edges and refining the shape as desired. A buffing block follows, lightly buffing the surface of the extensions to remove shine and add texture that helps the gel adhere better. The main focus during this step is on the edges and corners of the extensions, particularly around the perimeter where lifting tends to start, with a lighter pass over the center.
An e-file with a small 240-grit sanding band is then used to thin out the cuticle area, helping the extensions blend more seamlessly with the natural nail. Even with tips that already have a relatively thin cuticle area, this extra refinement helps.
The extensions are then sealed using a small amount of acetone on an oval brush, gently swiped along the freshly filed cuticle area. This slightly melts the extensions into the natural nail for a more seamless finish. Everything is then wiped down with rubbing alcohol to remove dust and any remaining oils before color is applied.
Applying Color
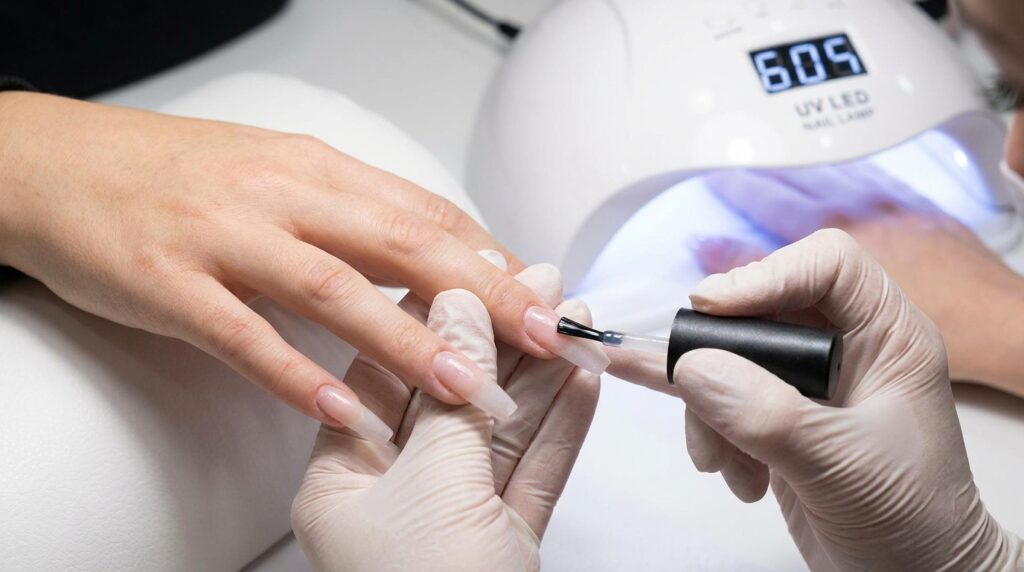
For this set, no hard gels or builder gels are used — the design goes straight onto gel polish. The base color used across most nails is Satin Barbie from DND, the closest match to the inspiration picture. Four thin coats were applied, curing for 60 seconds between each coat to slowly build opacity. This base color was applied to every nail except the index finger, which received a baby blue shade called Pure Cloud from Madame Glam, applied in two coats with 60 seconds of curing between each.
Two yellow polishes were then mixed together — believed to be Honeycomb and Bright Honey — to create a lighter pastel shade for the French tips. The process begins by creating a line marking where the French tip should start, then drawing a V-shape down the nail, connecting it back to the smile line, and filling everything in. A 15mm liner brush provides the control needed for this step. The same process was repeated using the baby blue shade on the ring finger.
For the pinky and thumb, an ombré effect was created. The yellow polish mixture was picked up on a small sponge and dabbed onto the nail, while another sponge with a brighter pink shade called Pink Elegance from Madame Glam was blended in at the same time. Ombrés are best built in layers — sponging on one layer, curing, and repeating. Since the yellow wasn’t showing up as strongly as desired, it was reapplied directly with an oval brush and blended, giving a much more opaque result that matched the inspiration picture more closely.
A very thin liner brush — roughly 7mm, with most of the bristles trimmed off for extra precision — was then used with white gel polish from Valentino Beauty Pure to add stripe details, matching the fine lines and dots seen in the inspiration photo.
Building the 3D Flower Details
Moving on to the sculptural elements, a 4-in-1 Luxe gel from Aprés in white is rolled out onto a palette and cut into eight equal pieces using a sculpting tool. These pieces are placed onto the nails to build the flower designs.
For the flower on the middle nail, three small gel beads are placed down, then pressed and shaped using the pencil-like end of the sculpting tool. Pressure is focused more toward the center of the flower, leaving the outer edges slightly raised to create a petal effect, adjusting until the shape looks right.
For the flower on the ring finger — which has more of a hibiscus shape — a similar process is followed, but the edges are dragged outward and slightly pinched to keep the petals pointed, creating that distinctive hibiscus look. Once each shape is finalized, it’s flash-cured, followed by a full cure before any colored polish is added on top.
Each flower is colored differently: white gel polish (Valentino Beauty Pure) is used for the middle flower, and the yellow shade for the ring finger flower, with a couple of coats applied and cured for 60 seconds between each. Full curing between every step is important to avoid leaving any uncured gel on the nails.
Adding Caviar Beads and 3D Lines
The JinB Crazy Thick Top Gel is used next for the 3D details and to adhere caviar beads. Starting with the index finger, a small amount of gel is placed in the corner and a larger caviar bead is added, then flash-cured for about 10 seconds to lock it in place.
A small addition of pink was made to the center of each flower using a sponge, cured for 60 seconds. The crazy thick top gel was then applied to the center of the flowers, with caviar beads placed there as well and flash-cured to secure them, followed by a full cure in the lamp for 60 seconds.
Everything is then sealed with a glossy gel top coat — the Mayo glossy gel top coat — chosen for its high shine and excellent self-leveling properties, which work especially well over nails with bulkier 3D designs. It can simply be floated around the nail and it smooths itself out within a few seconds. It’s also non-yellowing, keeping the nails glossy over time. This is cured for 60 seconds.
Finally, the crazy thick top gel is used again with a liner brush to create 3D line details. A 15mm liner brush is fully saturated with the gel, dispersed evenly, and strokes are added starting with the one closest to the center, followed by the one below it so the larger stroke sits on top. Each section is flash-cured to hold its shape before moving to the next. On the ring finger, three small gel bubbles were added — two on top and one at the bottom — along with two very thin streaks of gel, all flash-cured in place. The pinky received two simple streaks angled slightly to the right, and the thumb received the same minimal two-streak design. Once everything is flash-cured, a full cure in the lamp for 60 seconds completes the set.
The Second Hand
The same design was recreated on the other hand, following essentially the same process, with a few small variations — most notably on the middle nail, where the French tip includes an open circle in the center. This detail required a bit more effort when working on the dominant hand, but careful, unhurried work brought it all together.
Finishing Touches
To complete the set, a peach cuticle oil from Blossom is applied as the final step. It is deeply hydrating for the skin and nails, with a pleasant scent to match.
Final Result
The finished nails bring an immediate sense of spring and summer, with bright, fun, and vibrant colors that each stand out on their own. The flower details add a lovely dimensional touch, while the playful streaks throughout give the whole set an extra sense of fun and creativity.